MM5_0114-Bearbeitet (1)

Laser Pipe Profiling

Brand:

Brand Logo: Rausch USA

Application Range from 8″ up to 48″ Pipe Diameter

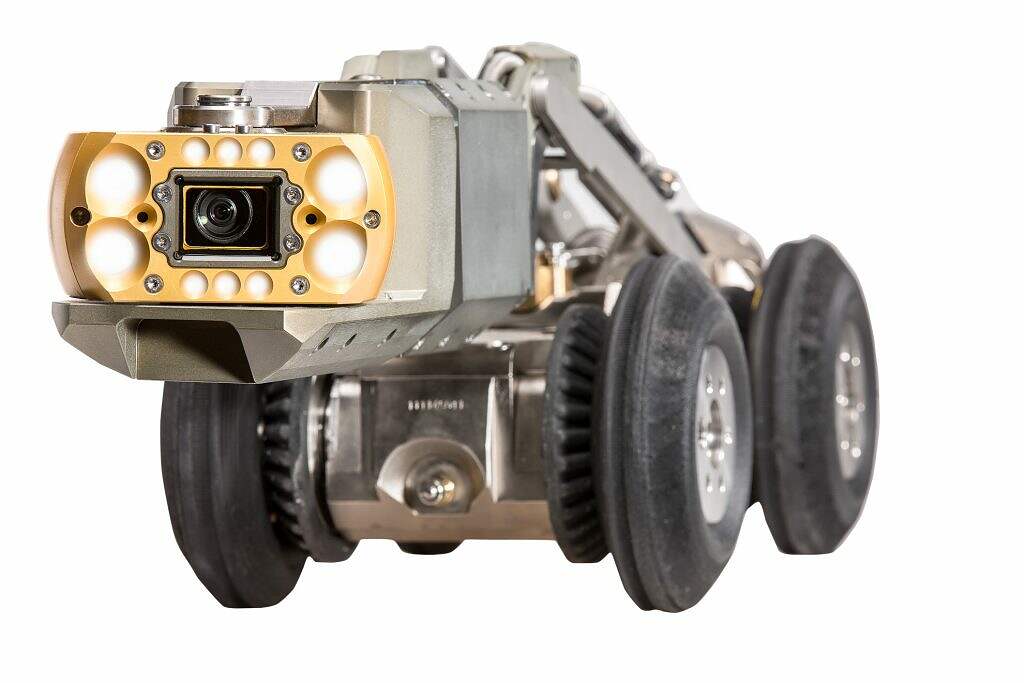
The KS 135 Scan has revolutionized the pipe profiling process using the “spinning laser” profiling technology. It is a 3 in 1 system, a single module upgrade to the L 135 tractor / crawler platform. Two laser diodes are integrated on either side of the conventional CCTV camera lens to perform three functions: Conventional CCTV video pipe inspection, Laser profiling (precise measurement of diameter, deflection and deformation of pipe), and crack & joint measurement.

ADVANTAGES:

  • Integrated into camera module
  • Mounts onto the L 135 tractor platform
  • Direct & highly accurate measurements
  • Instant & final reports on site with POSM Pro software
  • No third party analysis
  • No field calibration necessary
  • Instant system verification
  • Quick & easy setup
  • ASTM Standard F3095-14*

Additional Details

How It Works

HOW IT WORKS

The Rausch USA Laser Profiler features two laser diodes that are integrated into the KS 135 Scan camera head. When these laser diodes project laser dots onto the inner pipe wall, the camera head rotates to measure the diameter and all changes thereof via triangulation calculations. This method is called the “spinning laser” laser pipe profiling technology. Working in conjunction with the POSM software, the comprehensive scan generates easy to use reports to profile the pipe.

Detailed Operation

DETAILED OPERATION

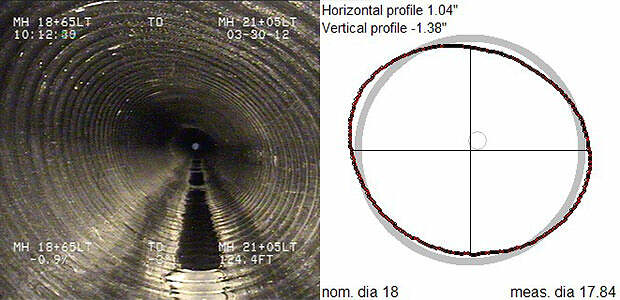
On the way into the pipe, the system is used to perform conventional CCTV video inspection, as well as measuring all joint widths. In addition, individual laser measurements can be taken at any time to determine the actual pipe diameter and deflection, called a single point scan. These diameter and deflection measurements then become a part of the inspection report.

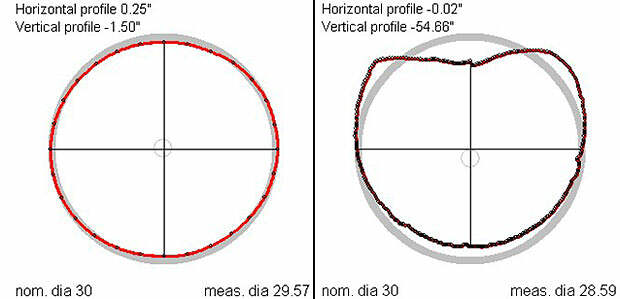
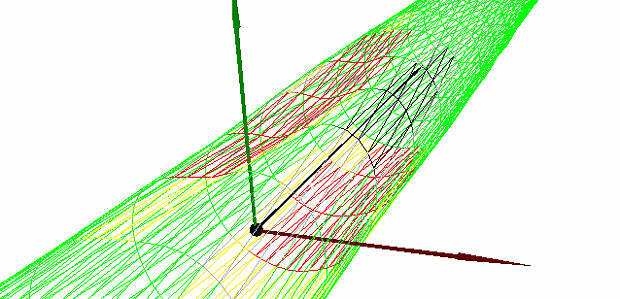
On the way out of the pipe, the system performs a “spinning laser” scan of the entire pipe length. The camera head swivels perpendicular to the pipe wall and rotates at a defined speed. Via triangulation the Scan software continuously calculates the precise pipe diameter and all deflections and deformations in the pipe profile. Once the run is completed, the software instantly generates graphs in 2- and 3-D. These graphs show any deflection, the average pipe diameter, and the inclination slope of the line.

The 3D viewer shows the measurement as a three-dimensional pipe with all deformations. In addition to the 3D pipe in which deformations are color-coded, depending on the thickness, a round graphic is displayed on the right-hand side, which represents a section at the currently selected point in the pipe.
Below the 3D view is a planar representation of the pipe, in which the texture is drawn out as a surface. The red bar shows the current position of the 3D view.

Product Video

youtube-video-thumbnail

From Our Customers

The last two days have been a real stress test. If it could go wrong it did, twice. I want to give a huge thanks to Chase Johnson at Jet Line Sales. Not only did he deliver parts with no hesitation, he answered 20 phone calls. Along with their great equipment came amazing technical support and service. We do appreciate the help.

Lakes Area Jetting

Interested In More Information Or Pricing?

Please use the form below and we will be in touch.

Name(Required)
This field is for validation purposes and should be left unchanged.

Our Experts Are Here To Help

Our team of experts is always available to help you select the right equipment for your specific needs and provide training and support to ensure you get the most out of your investment. We understand the importance of having reliable equipment, and we stand behind every product we offer with excellent customer service.